First, let's take a look at the tools I used to create this medallion: a rolling pin, a shaping tool, a needle tool and part of a brick.

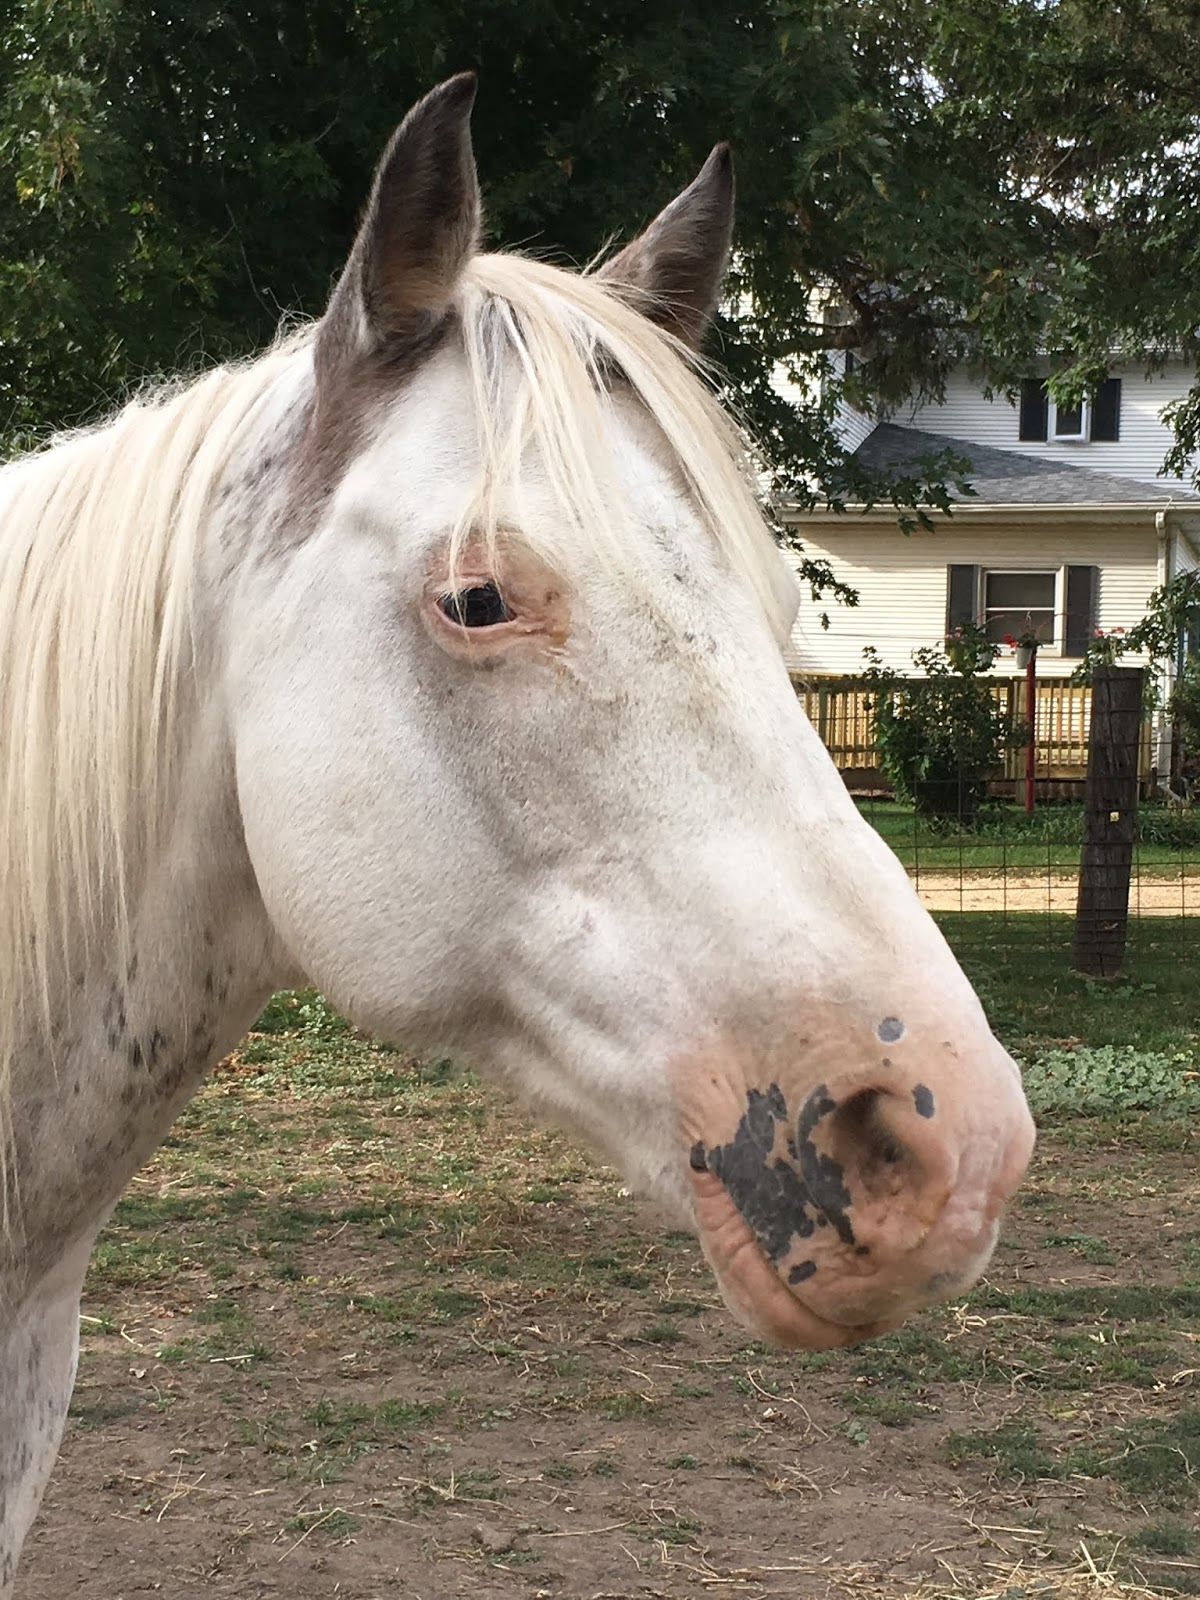
Next, we should look at my subject for this medallion, my mare, Snowflake. Now I do have a fairly good idea, even after I sold her, of her anatomy as well as a horse's anatomy in general. This is an important thing to understand as it will aid you, the sculptor, in creating your piece. The more knowledge you have, the better your piece will look.
As I do not have clay-clay available, or even a ceramics studio nearby to work in, I chose to work in Sculpey clay as I find it to be a reasonable substitute for true clay. I start by rolling out the clay to my desired thickness. With this medallion being for me, I wasn't too worried about consistency of the thickness, if this were for production, I would have used the ruler to make sure it was all level, or even had several rulers of similar width together so that I could get an even thickness throughout. From there, I proceeded to cut my edges off to make a square, as I wanted to do a square medallion.

Once I cut the square, I realized I had a boo-boo on one of the corners from not going slowly enough with my needle tool when cutting. So I altered my plan, which you will see at the end.

In the meantime, I smoothed out the edges. You can do this with water, or if you aren't worried about what others might think/it's just for you...you can use saliva too (plus, it goes into an oven or kiln, germs will be killed off). I then proceeded to free-hand a drawing of my mare onto the clay itself with the needle tool. After I'd completed this, my friend, Shannon, reminded me that I you could also trace your original reference (hard for me as it's on my computer screen-which is also a touch screen) and then proceed from there to get the features onto your clay.

Originally, I wanted to just manipulate the clay, but I had the clay too thin to do this, so instead, I built up from the drawing. Immediately, you will see that I oopsed and made my mare's muzzle too long, and didn't correct it, but you will also notice that we now have depth to the piece, and that was from just adding the muzzle. I added said muzzle by rolling out another small sheet of clay and morphing it to the muzzle's rough shape. As it is hollow inside that piece, I will add a hole later on so I don't risk that part blowing up in the oven.

From here, I continued to build up the face with clay, while still working to create depth. The idea is that the clay will "fade" to the original drawing. I also added Snowflake's eye by carving it out, and then rolling a small ball of clay and placing said ball into the hole. If the ball is too big, it will "bulge" out, and if it's too small, it will not fill the hole adequately. To ensure that the ball stays, use water or saliva again to help it adhere.

Then I proceeded to build up areas of the face an neck. I also added the edge of her nearest ear and carved out the hollow part of both ears. I also used the needle tool to add a mane and forelock. Note that I do not necessarily follow Snowflake's picture to a "T". While it's fine if you choose to do so, it's artistic freedom that allows for creativity to flow too.

Next, I start to smooth out all those lumps and bumps of clay, working to get them to resemble a horse more closely rather than the building blocks they were. Again, water or saliva (you don't have to lick the piece either, just the tip of your finger) to get the clay to smooth out. I also started to add lines to exaggerate where the parts of the horse's face.

I continued to smooth out the face, and then I used the brick to give texture to the background. I really like texture on ceramic pieces, and this is no exception! I also used the needle tool to cut the other three corners off. I could have added clay to that original base, but I decided I liked this look better.

I then went through with the curved edge of my shaping tool to define my mare's face against the background and to aid in the overall shape and definition of her head too.

I continued to work on the medallion doing little finishing touches, that continued to emphasize the head, smooth out the bumps and such that were still on the medallion including the hole at the nostril I mentioned above. From there, it was to the oven.

But the medallion was not to go in alone. I still had leftover clay, so I worked on some other medallions, or perhaps magnets, as the other two equine pieces are quite small. I also made a magnet of my late betta, Dude, who has yet to get a magnet on the fridge like the previous ones. Alas, I did not have enough to do one for my late betta female, Molly.

The above unicorn medallion is another way of creating a medallion, and one that appears to be quite common (from what I've seen). The horse is simply an added layer on top of the base. This is perfectly acceptable as a means of giving a piece depth, however, the piece will still appear 2D rather than having elements of 3D. This one was created in a similar method to above. The needle tool cut out the horse's shape, the shaping tool aided in securing that piece of clay to the base, and then it was just detail work from there.

The above is another one based off my mare, Snowflake. I used the building method from the first medallion to build up the hips, part of the back, withers, and the upper part of the neck, then I just used the needle tool to get her general face shape on the medallion.
Once all my pieces were completed they went into the oven for 15 minutes per the Sculpey package instructions. You will notice on the betta magnet that it has some foil under the fin to keep the fin's shape that I wanted, there is also a bit of foil underneath, curving the shape. This was more what I wanted to do with the first medallion originally, but decided against. Once cooled, they're ready for painting!

I hope this helpful to anyone who's just starting out! I am by no means an expert, and I will always have more to learn (as does everybody, really as one ceases to grow if one refuses to learn anymore).
Till the next time!
No comments:
Post a Comment