 |
| (Above: My clay tool box-but what's inside it?) |
As May Medallion Madness approaches, a NaMoPaiMo like event, that is having it's first year be exclusively held on Model Horse Blab, there are many people who find themselves wanting to sculpt a medallion. Myself included. Some of us do have medallions ready to paint for the event (I just need to prime my Ronald the Mule medallion by Audrey Dixon), but as some have never sculpted before, I thought I'd do a little "Tools of the Trade" post.
 |
| (Above: A thrown pig sculpture done, by the late, Bruce Howdle, fondly named Gerti.) |
I was fortunate in my four years of college to come across the Clay Club on campus, for my Jr. & Sr. years, I participated in Clay Club and served as an officer in the club too. Our instructor/head of the club was Bruce Howdle, a well known relief sculptural muralist and potter. I was fortunate to be able to take classes with him as well, and as I stated that I had admired his style of ceramic since we visited his studio in Mineral Point, WI in high school, he showed me some of his own techniques for sculpture and reliefs, and adapted them to my own style.
One of the things I learned from Bruce is the importance of the tools you use on your pieces. Now don't fret. Many of the tools I have in my own clay box are not hard to find, and many of them you may have in your house or can easily find!
 |
| (Above: Clay wire cutters. You will notice that many of my tools have blue tape on them. This was to identify them as mine in my college ceramics studio.) |
If you are fortunate that you have access to clay-clay or a ceramics studio (I will not have either for making this medallion), you will want to have clay wire cutters. They make it easier to get a reasonable sized chunk of clay to work with.
 |
| (Above: Recently acquired rolling pin from the dollar store.) |
Probably the easiest to find is the rolling pin. This tool is essential, especially if you're to make a medallion. Ideally, we'd all have access to slab rollers which would do the hard work for us, but alas, that's not the case. For consistency, you will want a ruler on hand too to check the thickness of your starting slab to make sure it is not uneven.
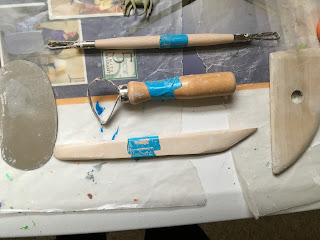 |
| (Above: Various shaping & carving tools in my clay box.) |
We'll start with the more typical tools first. Shaping tools can be very important in a piece be it a sculpture or a relief, like a medallion. There are various sizes and styles. These will help smooth out edges, aid in combining slabs of clay, and sometimes applying detail. Carving tools are also important, even in relief. You may need to take away some clay to get the right shape with limited risk of obscuring or ruining details you've already put in.
A needle tool is also a necessity, as it can help make fine cuts from the clay, carve in details, and overall, I've found this to be the most useful/used tool in my clay box.
 |
| (Above: Some letters/number imprints, needle tool, mesh, and impression of tree bark help add texture to my pieces.) |
If there is one thing I learned from Bruce (and I assure you, I learned many things) it was that tools for clay can be found anywhere. Being more of a textural artist, Bruce had a plethora of tools at his disposable, and many of them were quite common. Gears, salt bricks, bricks, shells, wood/tree bark etc. Many everyday, common items that you can find or can easily acquire to get texture.
 |
| (Above: Jewelry chain, tiny gears, keys and buttons are all everyday items that can be used to give your piece texture.) |
Everyday house items can be great at getting texture too, just in case you don't have a tool kit on hand, or don't live near the great outdoors. Keys, jewelry chains, buttons, spirals on spiral notebooks, etc. can be used to create texture on a piece.
 |
| (Above: My scrap of Shamwow!) |
A college friend supplied me with this next item and that is a Shamwow! Oh yes. I kid you not. This cloth/towel from TV is wonderful in helping to smooth out edges. Admittedly, it was used more on thrown pieces to make the lips smoother, but it can be used on reliefs too as it can help smooth out dings, accidental finger prints, etc.
 |
| (Above: Brick I grabbed from my yard as I'm thinking I might want the texture for my medallion's background.) |
Once you've got the tools, don't be afraid to experiment with them and have some fun! Even if you don't have the tools, you should still experiment and have fun! Use what you have and let your creativity run wild!
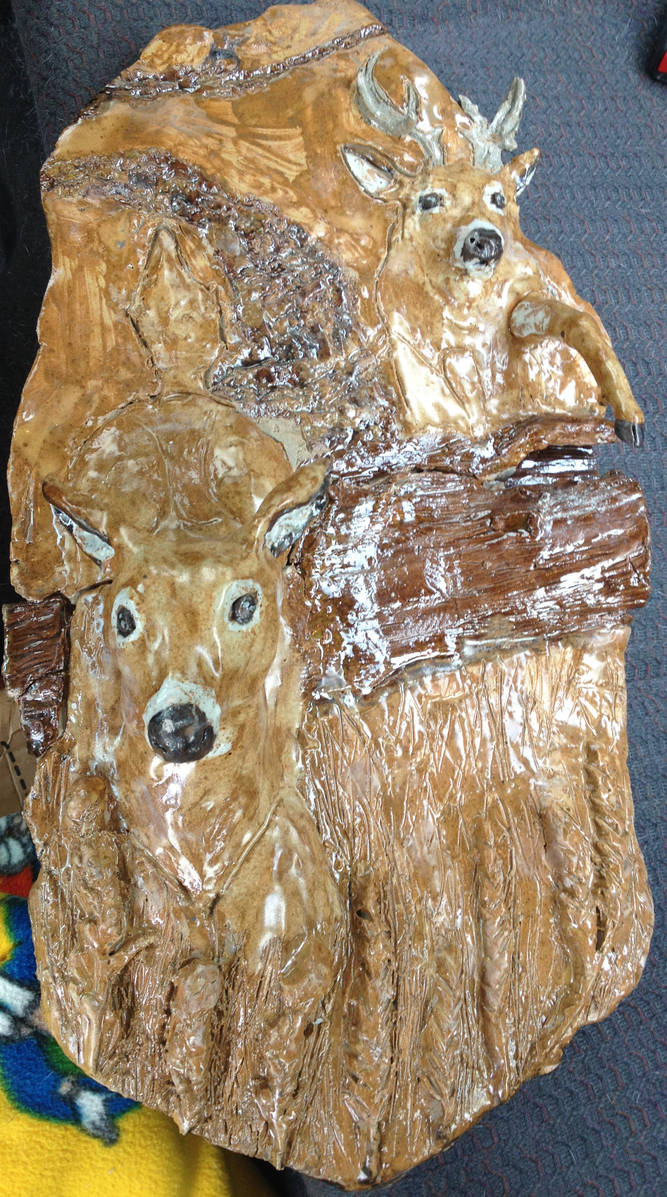 |
| (Whitetail Trail-a wall hanging made for a friend. Tree bark, cast impressions of wheat, and a salt brick were used for textures.) |
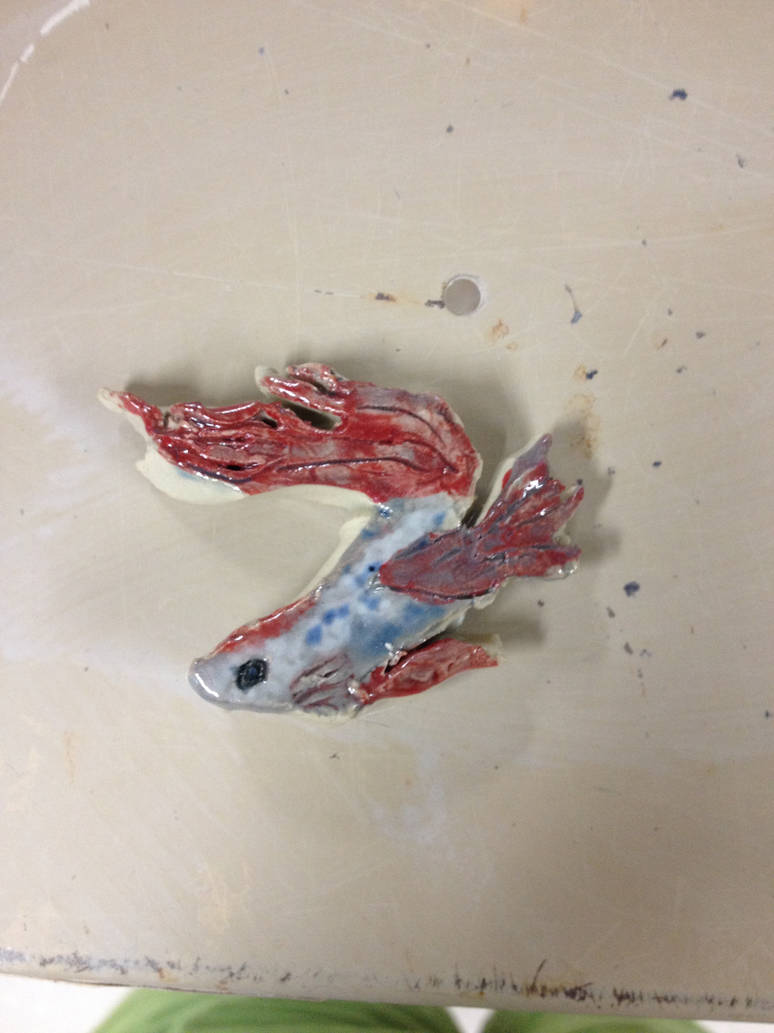 |
| (Magnet of my late betta, Raku, detailing done with a needle tool.) |
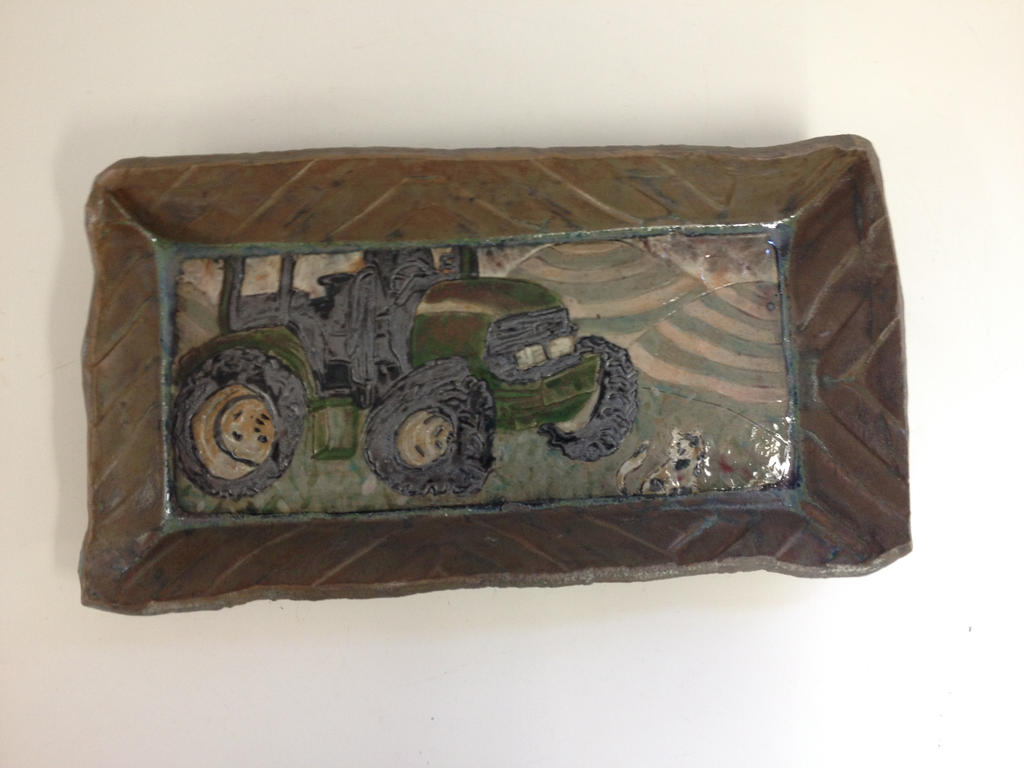 |
| (Tractor plate, edge texture done with a drill bit.) |
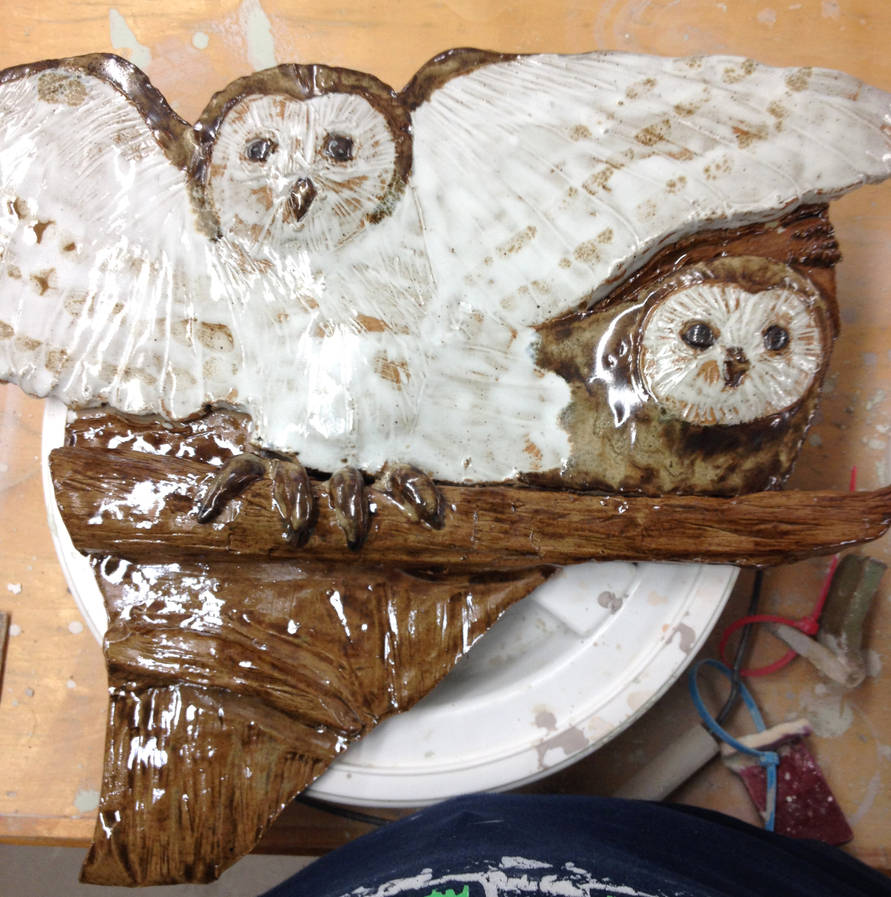 |
| (Barn Owl wall hanging, texture done using wood block and needle tool.) |
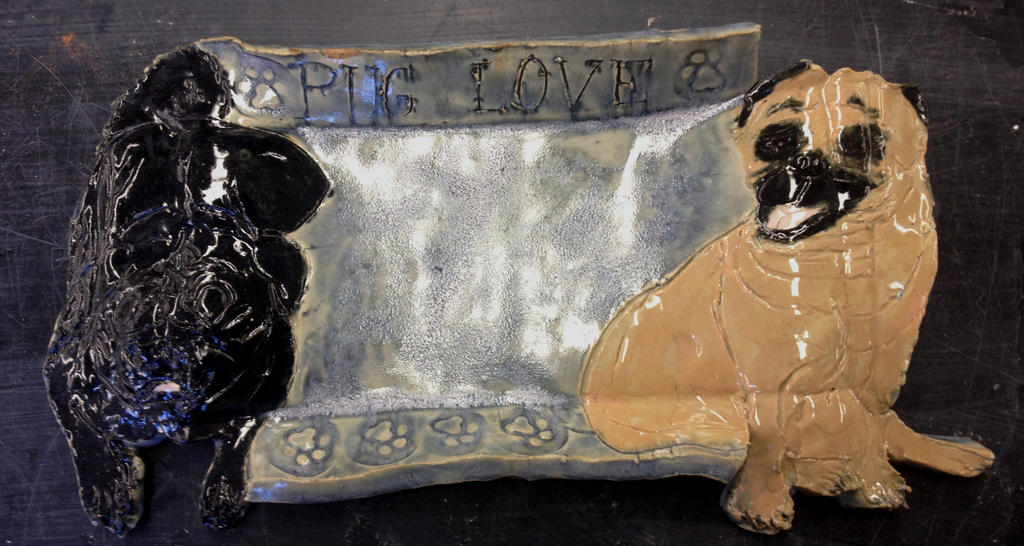 |
| (Pug Plate-details done with needle tool, shaping tools used to keep edges crisp & pugs' shapes on edges.) |
 |
| (Decorative plate-texture accomplished using various letter/number stamps.) |
 |
| (Leaf Plate-With access to a kiln you can use leaves, needles, and small twigs to create texture by leaving them on your piece. When it's fired in a kiln the plant matter burns off. Colors on this plate are glaze, not the leaves, they just left their impressions.) |
Till the next time!


Lovely! I miss working with real clay and having access to kiln and studio. Polymer clay and epoxy are definitely different media, but all the tools still apply! Great stuff.
ReplyDelete